Creating an LLM agent with tools
LLM Agents in Cotera can go beyond their pre-trained knowledge by using tools. By giving an agent access to a tool like Google Jobs, you can empower it to fetch real-time, external data and bring it directly into your dataset for analysis. This approach is ideal when you need to enrich your data with live information from the internet.
What You'll Build
In this tutorial, you'll create a job-finding agent that uses the Google Jobs tool to search for recent job postings. The agent will automatically search for jobs, extract relevant details, and return structured data ready for your workflows.
Prerequisites
Before starting, make sure you have:
- A Cotera account with access to agents
- A dataset where you want to add the agent column (we'll use a list of job titles for this example)
Understanding Agents with Tools
Regular agents can analyze data and make decisions, but they're limited to their training data. Tools extend agents by connecting them to external systems - search engines, APIs, databases, and business applications. This transforms agents from analytical tools into active workers that can fetch real-time data and take actions.
Step 1: Add the Tool to Your Organization
Before creating your agent, you need to add the tool to your organization. This is the key difference from creating regular agents.
Finding and Adding the Tool
Navigate to the Tools section in the left sidebar and click the + button.
You'll see Cotera's extensive library of available tools. For this tutorial, we'll use Google Jobs.
- Search for or scroll to Google Jobs
- Select the specific function you need: Job Search
- Review the tool documentation to understand its inputs and outputs
- Click Create a new connection if this is your first time using this tool
Some tools require authentication the first time you use them - you may need to provide an API key, enter credentials, or complete an OAuth flow.
Saving the Tool
After configuring the connection:
- Click Save in the upper right corner
- Give your tool connection a descriptive name, like "Google Jobs Search"
- The tool will now appear in your Tools list in the left sidebar
Your tool is now available to use in any agent you create.
Step 2: Create Your Agent Column
Navigate to the dataset where you want to add the agent.
- Click the + button to create a new column
- Select LLM from the "New Column" menu
- This opens the agent configuration interface
Step 3: Define the Agent's Task
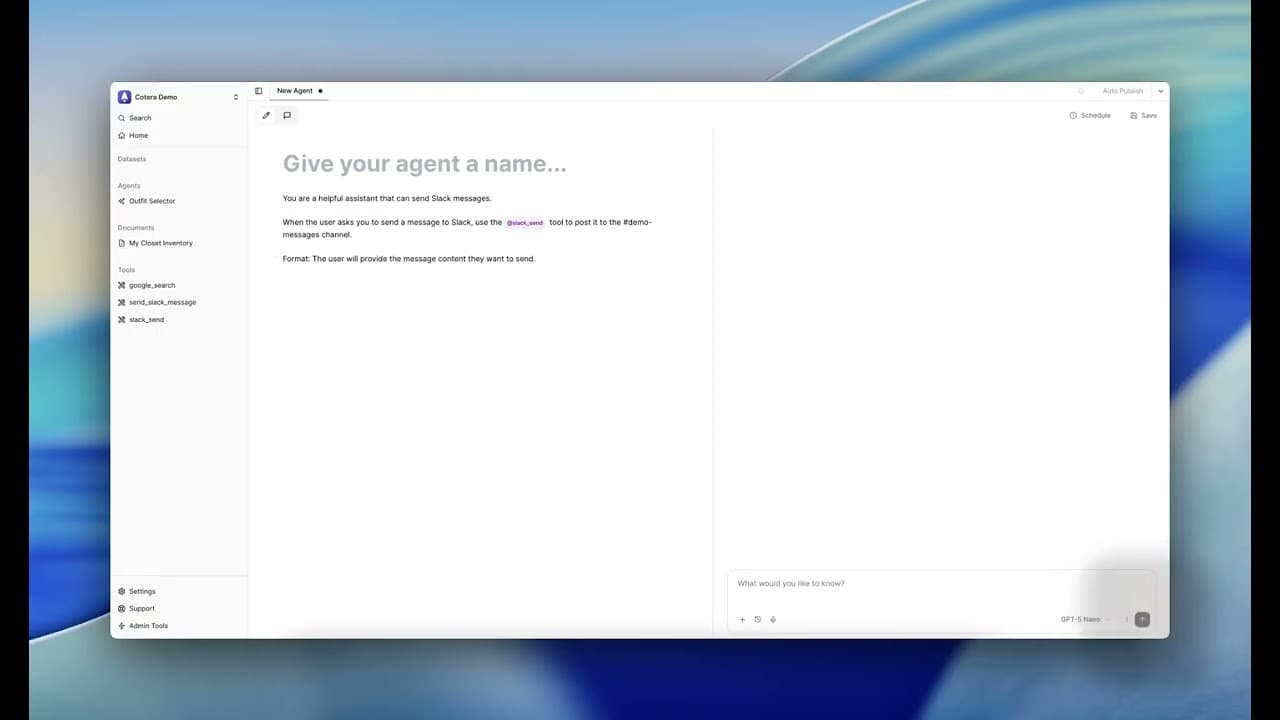
The System Message is where you give your agent its core instructions. This should clearly explain the agent's role and what you want it to accomplish.
For a job-finding agent, you might write:
You are a job-finder agent. Your job is to help me find jobs posted in the last 3 days in the US for the role that I am about to give you.
If you were to test this prompt without tools, the agent would explain that it cannot access real-time job postings because its knowledge is static. This is where tools become essential.
Step 4: Connect the Tool to Your Agent
Now let's give your agent access to the tool you added earlier.
Referencing the Tool
In the System Message field, type @ to see a dropdown of available tools in your organization.
Select Google Jobs Search (or whatever you named your tool connection) from the list.
Instructing the Agent
Update your System Message to tell the agent how to use the tool:
You are a job-finder agent. Your job is to help me find jobs posted in the last 3 days in the US for the role that I am about to give you.

Please use the @Google Jobs Search tool to find current job postings.
The @ reference connects your agent to the tool's capabilities, and the instruction tells the agent when and how to use it.
Step 5: Structure the Output
To ensure your agent returns data in a clean, usable format, define a structured output.
Adding Output Fields
Click the icon to define your output structure.
Add fields for each piece of information you want to extract:
job_title(string): The position titlecompany(string): The hiring companylocation(string): Job locationsalary(string): Salary information if availablelink_to_apply(string): Application URL
Updating the Prompt
Modify your System Message to instruct the agent to return data in this format:
You are a job-finder agent. Your job is to help me find jobs posted in the last 3 days in the US for the role that I am about to give you.

Please use the @Google Jobs Search tool to find current job postings.

Return your findings in the following format:
- job_title: The position title
- company: The hiring company
- location: Where the job is located
- salary: Salary information if provided
- link_to_apply: URL to the job posting
Step 6: Connect to Your Data
In the Prompt section, link the agent's input to the relevant column in your dataset.
For this example, if your dataset has a column called "Job Titles", you would reference it in the prompt:
Search for: {Job Titles}
This tells the agent to use each value from the Job Titles column as the search query when processing rows.
Step 7: Save Your Agent
Before testing, save your agent configuration:
- Click Save in the upper right corner
- Give your column a descriptive name, like "Job Finder"
- The agent is now saved and ready to test
Step 8: Test the Agent
With your agent saved, use the chat preview to test its behavior.
Running a Test Query
In the chat window, enter a sample job title like "Backend Engineer".
The agent will:
- Generate a tool call to Google Jobs Search
- Execute the search with your parameters
- Return the results in your structured format
You may need to manually approve the tool call by clicking the play button the first time. The agent will then fetch live job data and format it according to your specifications.
Reviewing Results
Check that the agent:
- Successfully called the tool
- Retrieved relevant job postings
- Returned data in the correct structured format
- Included all the fields you specified
If the results aren't quite right, you can refine your System Message and test again.
Step 9: Run on Your Dataset
Once you're satisfied with the test results, run the agent across your entire dataset.
Click Run Now to start processing.
The agent will:
- Iterate through each row in your dataset
- Use the value from your Job Titles column as the search query
- Call the Google Jobs tool for each search
- Populate the "Job Finder" column with structured data
Depending on your dataset size, this may take some time. You can monitor progress and view results as they complete.
What You've Built
You now have a working agent that:
- Connects to external tools to fetch real-time data
- Processes multiple rows automatically
- Returns structured, usable results
- Can be scheduled to run regularly as your data updates
Next Steps
This same pattern works with hundreds of different tools:
- Send notifications: Connect to Slack, email, or SMS services
- Update systems: Push data to CRMs, spreadsheets, or databases
- Fetch information: Search APIs, scrape websites, or query databases
- Take actions: Create tickets, schedule meetings, or trigger workflows
Explore the tools ecosystem to discover what's possible, and check out prompting best practices to make your tool-powered agents even more effective.